Hole by Hole
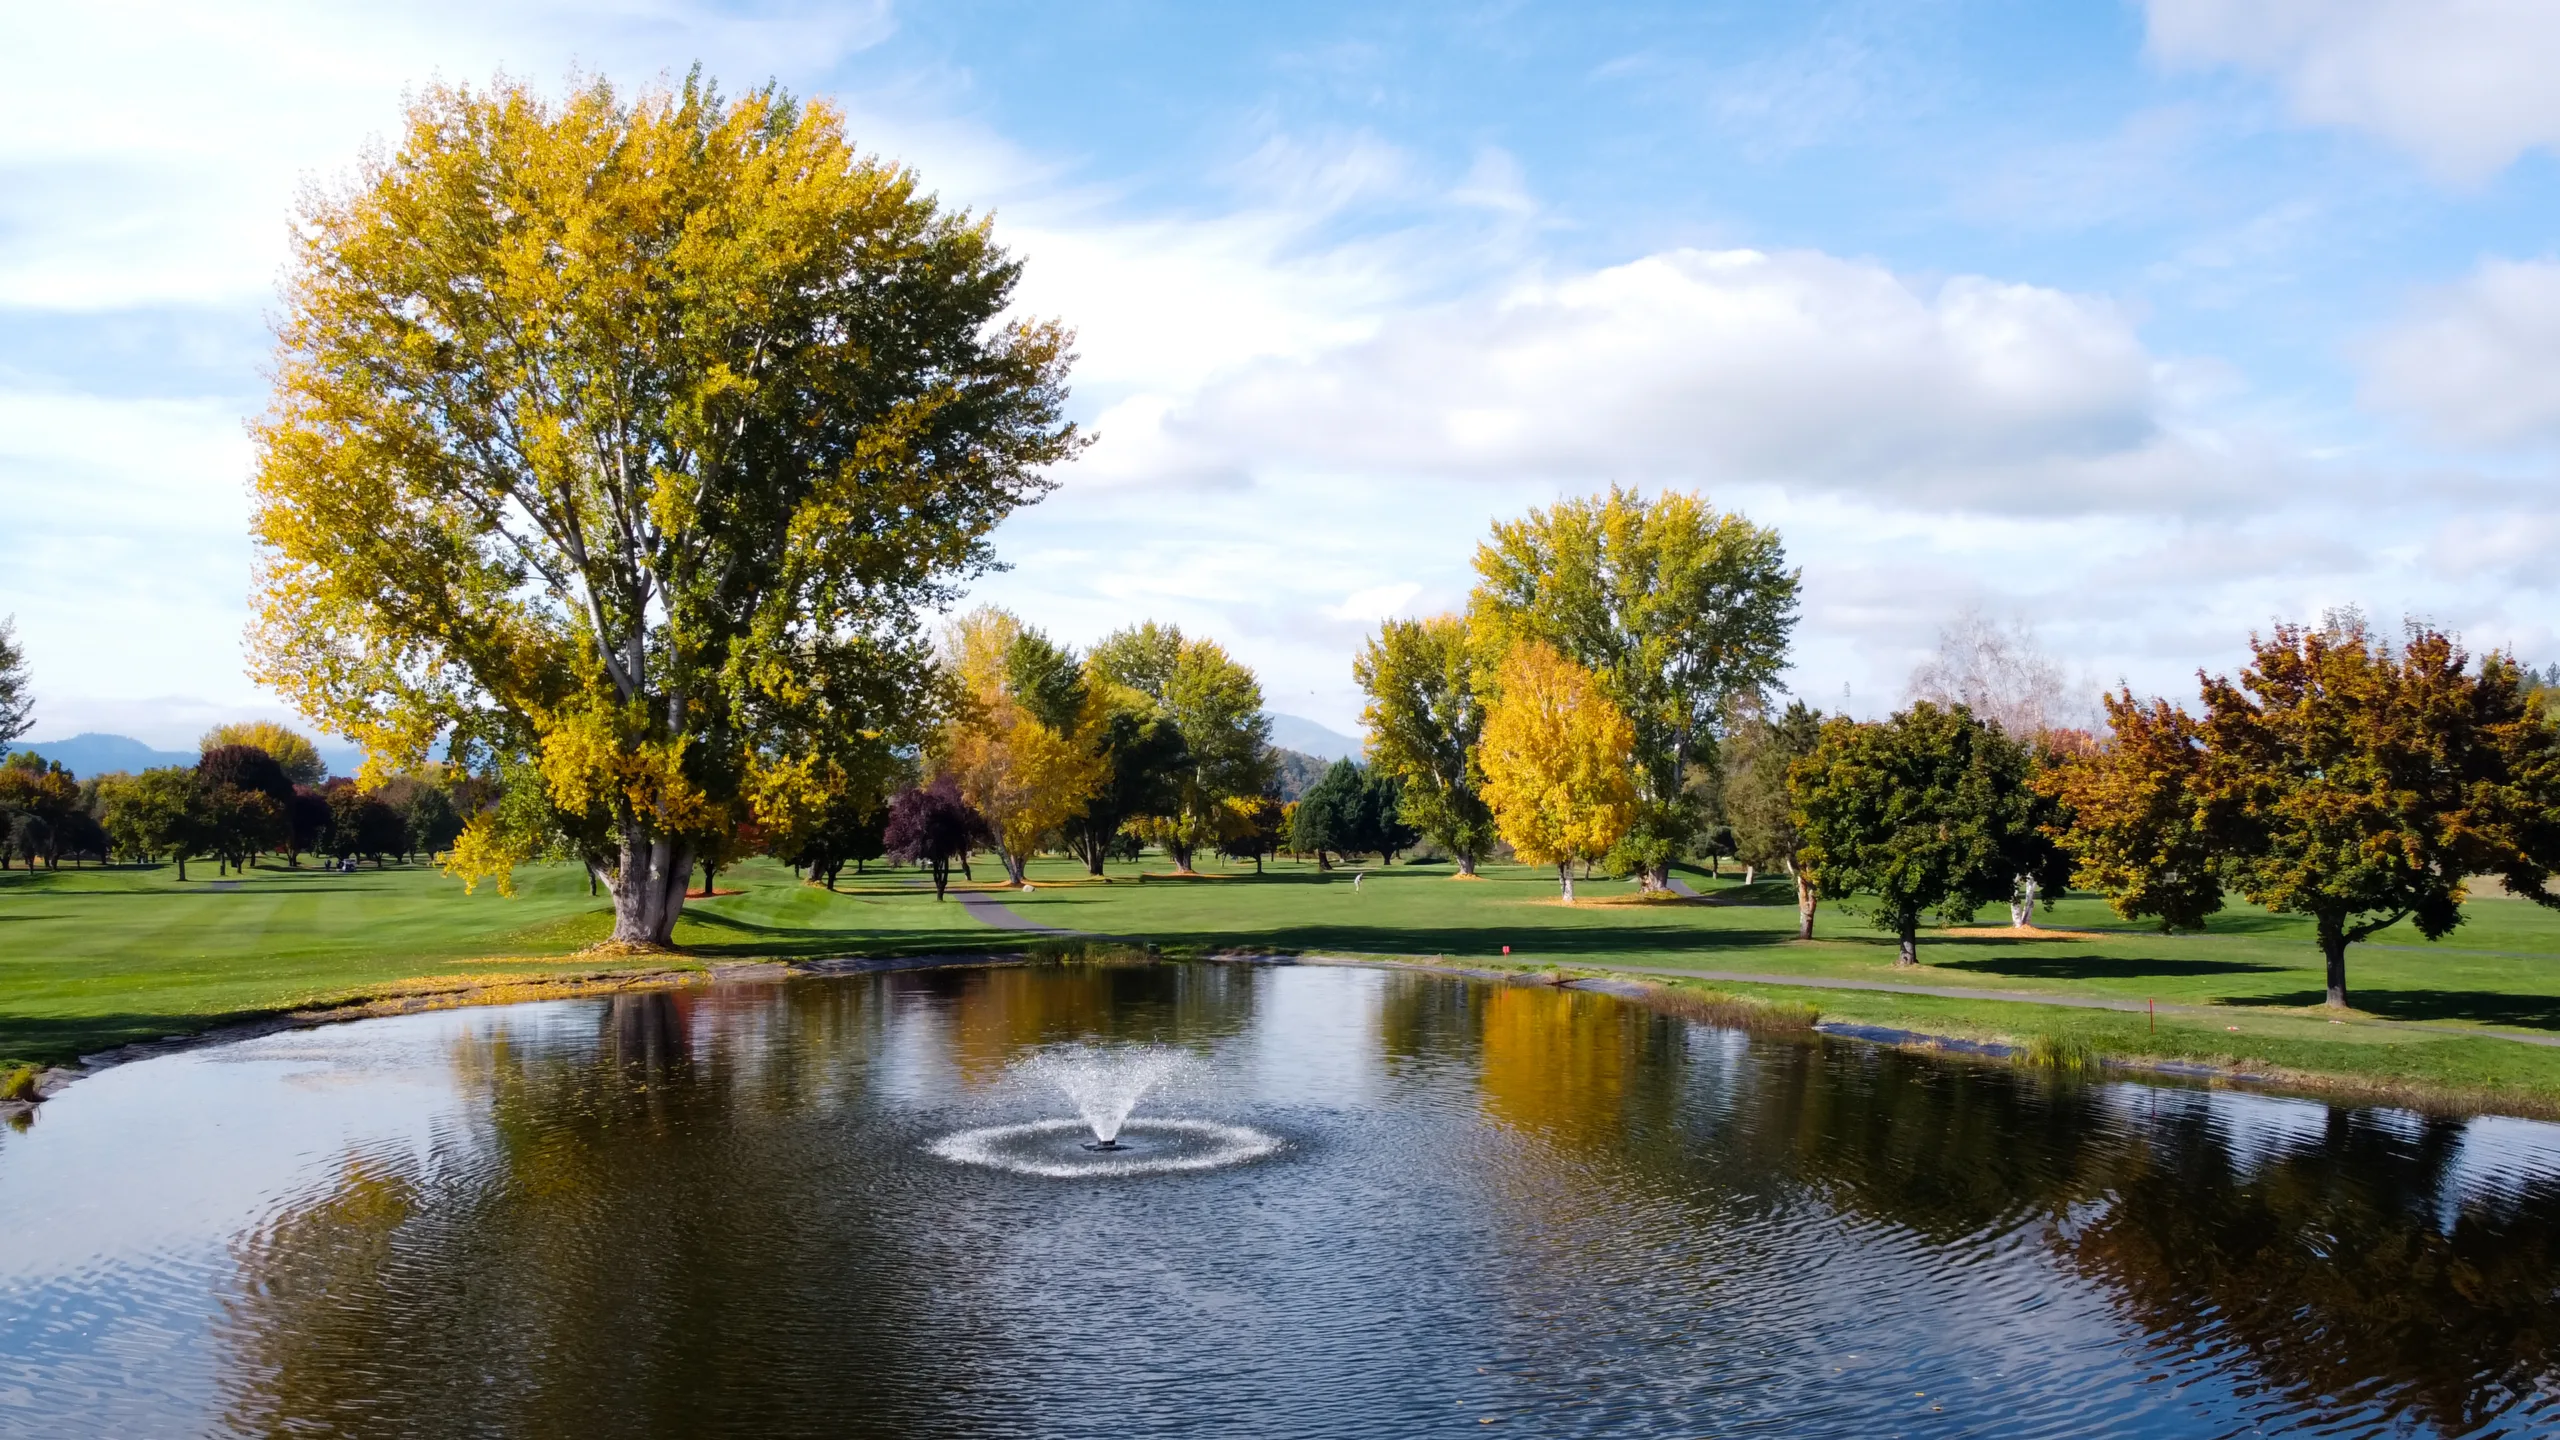
Hole 1 par 5 407 Yards
Handicap 14
Slight dog leg left, with a high risk reward. Don’t bite off more than you can chew by taking on the pond; a longer drive down the left side of the fairway will leave you with a great chance of making birdie. However a 200 yard carry over water is not for everyone. Play the tee shot out to the right and get the round started with a chance at birdie for an easy par.
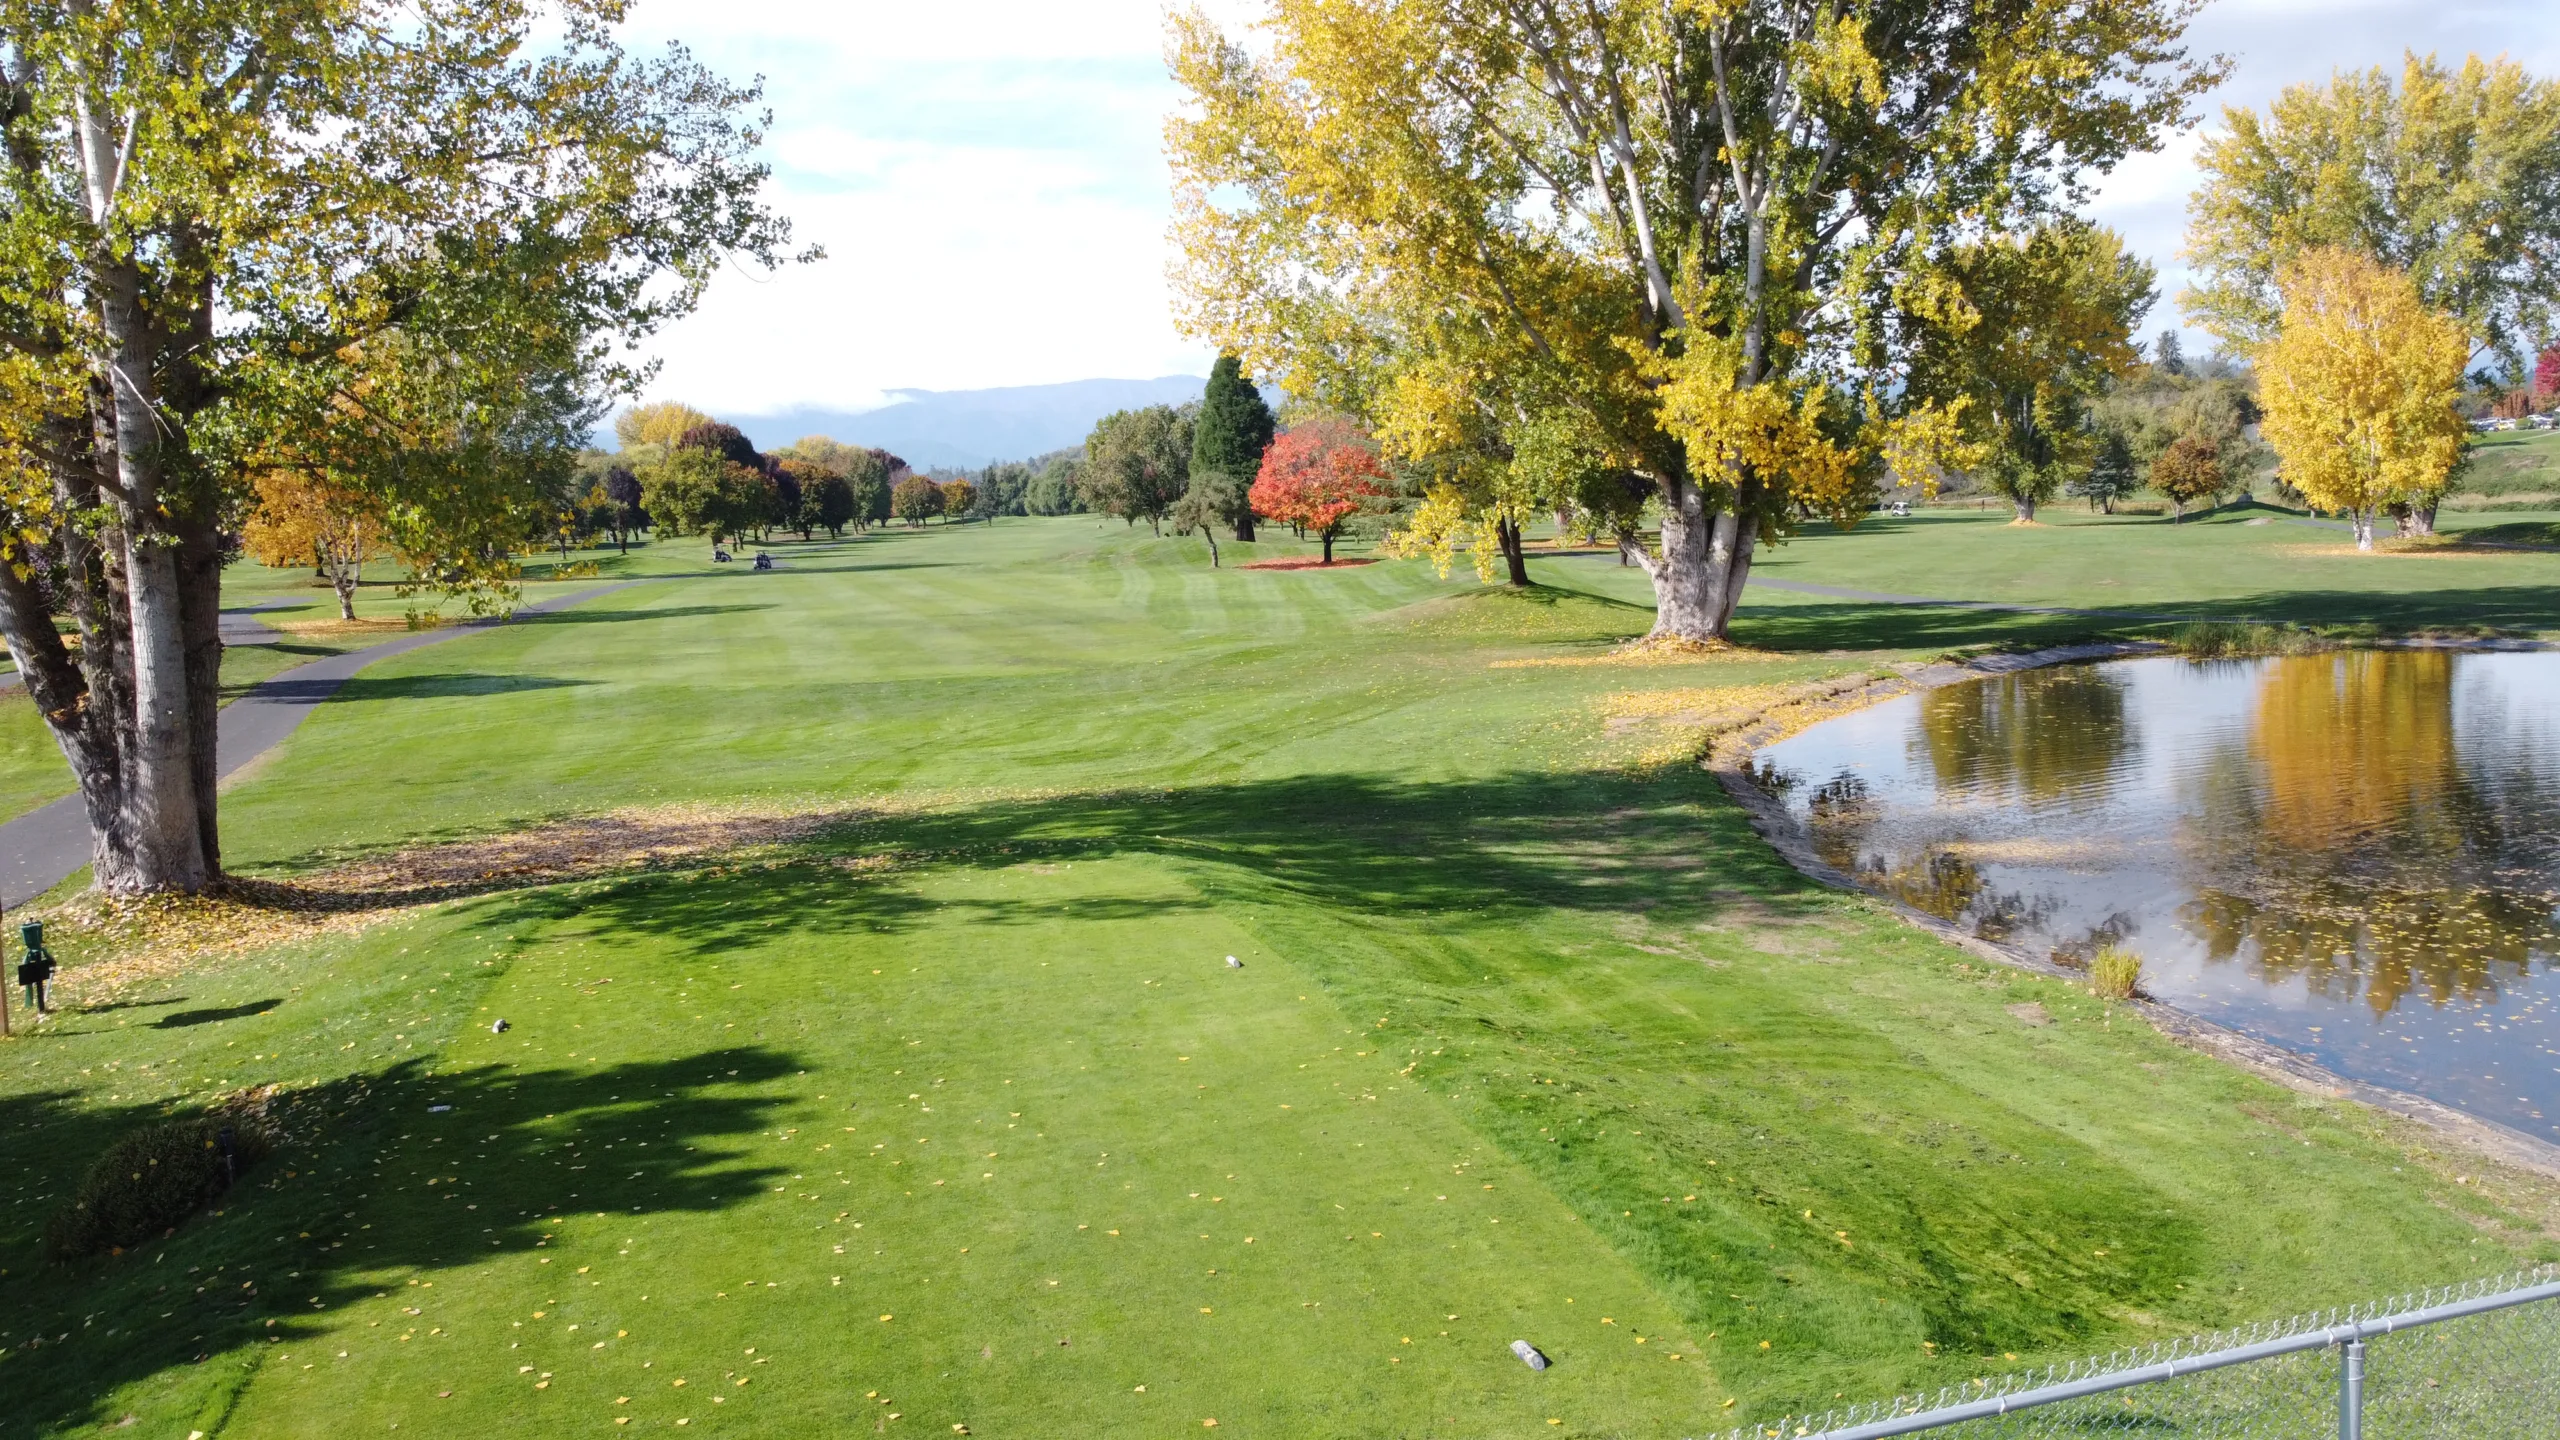
Hole 2 Par 4 369 yards
Handicap 2
Hole 2 is the hardest hole on the front 9 with a demanding tee shot to find the fairway. A tee shot left or right will have you blocked by the enormous cottonwoods protecting the fairway. Don’t be long on with the approach to the green unless Lathrop Creek does come into play. Par is a great score for this hole, most golfers are lucky to walk away with bogey.
Hole 3 par 4 293 yards
Handicap 10
Hole 3 is a dog leg right, at 293 yards driver is not needed off the tee to find the green in regulation. A narrow fairway with trouble right and water long; a drive down the left hand side gives you a great angle to this narrow green. Keep the second shot from going long and you’ll walk away with an easy par.
Hole 4 Par 3 166 yards
Handicap 8
Hole 4 is the first of three par 3’s on the front, with a postage stamp green that slopes back to front; Finding the green off the tee is very crucial to scoring well on this hole. If you do miss the green its better to miss short and avoid the sand trap that protects this hole. Anything left or right will make for a demanding chip shot with a lot of undulation. Par is a great score on this hole.
hole 5 par 5 474 Yards
Handicap 12
Hole 5 is all about the approach to the green; A big fairway is easy to find off the tee, don’t miss right or a punch out will follow. Water right and a bunker left protect this green with a narrow passage to the green. Keep the ball in play and you’ll walk away with an easy par.

DCIM101MEDIADJI_0120.JPG
Hole 6 Par 3 187 yards
Handicap 6
Hole 6 is longest par 3 out here at Dutcher Creek at 187 yards. Don’t be fooled by the false front ravine, finding the right yardage is crucial off the tee to this flat green.

Hole 7 par 4 323 yards
Handicap 16
Hole 7 is a great driving hole, any drive less than 250 yards can swing away; Longer hitters need to be aware of the pond on the left. A drive down the right side will lengthen the second shot but takes hitting over the pond of the equation. Grab the big stick and let it rip!

DCIM101MEDIADJI_0182.JPG
Hole 8 Par 3 98 yards
Handicap 18
The shortest hole here at Dutcher Creek, but definitely not the easiest. A tee shot within 15 feet of the flag on this green has a great chance for birdie; however miss the green or find yourself with a long putt on a undulated green could have you making a bogey on this short par 3.
Hole 9 Par 4 288 yards
A drive in the fairway is the most important shot on this uphill par 4. Finding the fairway will give you a great chance to get on the biggest green we have here at Dutcher Creek. If you miss the fairway right, you’re in the penalty area; miss the tee shot left and it leaves you with a daunting 2nd shot up a steep face to the green. Failing to get the 2nd shot on the green from the left side will have you chasing your ball down the hill. Par is a great score on this hole.

DCIM101MEDIADJI_0300.JPG
hole 10 par 5 450 yards
Handicap 3
Hole 10 is an elevated tee par 5 with great views of the Rogue Valley. With a carry of 260 you can find yourself licking your chops at an easy birdie. However a drive left, right, or short will have you taking a drop. Finding the fairway with a long iron or hybrid is a smart play on this par 5. Keeping the second shot down the right side for a great chance to hit it close in regulation. Missing left will have you blocked out by a giant cottonwood. Find the fairway off the tee and you’ll score great, miss the fairway and you’ll be wishing you stopped after 9.

Hole 11 Par 3 181 Yards
 Handicap 13
Hole 11 is the second longest par 3 here at Dutcher Creek. From 181 yards this tee requires accuracy and distance control, with a penalty area on the right and oak tree on the left make sure to take plenty of club to find the green. A par is a great score here, most golfers will walk away with bogey or worse.

DCIM101MEDIADJI_0192.JPG
Hole 12 par 4 274 yards
Handicap 15
Hole 12 is the shortest par 4 here at Dutcher Creek, with an elevated tee box on a rock formation, it is a crowd favorite. This slight dog leg left requires a straight shot or a draw off the tee box. To far left you’ll find the penalty area, to far right you’ll be blocked out by the giant willow trees. Keep this tee shot in play and you’ll have a great chance to score well on this hole.


hole 13 par 4 381 yards
Handicap 15
Hole 13 is the longest par 4 here at Dutcher Creek. From the tee this hole looks friendly but missing the fairway will change your mind. With OB left and rolling hills down the left side your better off to favor the right side off the tee. A second shot into a crowned green can be very difficult to hit. Walking away with par on this hole will make you feel good heading into the short par 3 14th.
hole 14 par 3 114 yards

hole 15 par 4 371 yards
Handicap 7
Hole 15 is another demanding tee shot; with a hidden penalty area on the left side, keep the ball down the right side of the fairway and you might be lucky enough to hit the speed slot resulting in a much easier 2nd shot. On the approach stay clear from the bunker left and the grass bunker right, this green is one of the bigger greens here at Dutcher Creek but finding the green with the 2nd shot should result in an easy par.
Hole 16 par 5 503 yards
Hole 16 is the longest of the par 5’s here at Dutcher Creek and starts a great finishing stretch to the clubhouse. Two good shots will leave you with a good approach to this green surrounded by rolling hills, missing this green can make for a difficult 4th shot. Finding the green however can have you walking away with a great score heading into the tough finishing holes.

DCIM101MEDIADJI_0372.JPG
Hole 17 Par 3 143 Yards
Handicap 9
Hole 17 is a daunting tee shot over water, any ball short you’ll find yourself dropping another ball. Make sure to take enough club to minimize the damage. A bogey here is a good score on this tough par 3.
hole 18 par 4 341yards
Handicap 1
Hole 18 is a great finishing hole, a drive that requires 200 yards off the tee to find the fairway. With water all along the left side keep your tee shot out to the right. However the farther right you’re off the tee results in added yardage for the second shot. This 2nd shot requires all carry over Lathrop creek, take enough club to get over. Your troubles don’t stop there, this green slopes severely back to front has the most undulation of any green here at Dutcher Creek. Walking away with a par will have you 2 strokes above average and a great feeling to end your day.

DCIM101MEDIADJI_0481.JPG